Thinking about improving your home internet speed and reliability? Upgrading from DSL to fiber is one of the best decisions you can make for smoother streaming, faster downloads, and future-proof connectivity. This guide breaks down everything you need to know to make that transition simple and stress-free. We’ll cover what fiber is, why it’s better than DSL, and how to complete the upgrade in manageable steps.
What Is Fiber Internet and Why It’s Better Than DSL
Before diving into the upgrade steps, let’s understand what fiber internet actually is and how it differs from traditional DSL (Digital Subscriber Line) connections.
Understanding DSL
DSL uses existing telephone lines to deliver internet connectivity. While it was a big upgrade from dial-up, DSL’s copper wiring limits how much data can travel at once. The result? Slower speeds, especially as more users in your neighborhood go online.
Understanding Fiber
Fiber internet uses thin strands of glass or plastic—known as fiber-optic cables—to transmit data as pulses of light. This means information travels much faster and with less signal loss. Fiber isn’t affected by distance the way DSL is, and its symmetrical upload and download speeds are ideal for working from home, streaming HD video, or gaming online.
Key Advantages of Fiber
- Much faster speeds (often gigabit-level)
- More reliable connection with less lag and buffering
- Better for households with multiple users
- Supports new smart home and 4K streaming technologies
- Future-proof for next-generation internet uses
If you’re curious about how fiber technology works, you can explore detailed explanations on Wikipedia.
Preparing for the Switch from DSL to Fiber
Upgrading your internet may require some planning. Here’s what to do before starting the switch.
1. Check Fiber Availability in Your Area
Not every neighborhood has fiber access yet. The first step is to check whether fiber lines are available at your address. You can ask your local provider or head to community forums like Reddit, where users often share which ISPs have expanded into certain areas.
2. Evaluate Your Current Internet Usage
Understanding your household’s online habits helps you pick an appropriate fiber plan. Ask yourself:
- How many people use the internet at the same time?
- Do you frequently stream, video call, or game online?
- Do you work from home and need strong upload speeds?
If you use the internet for more than basic browsing, fiber will easily handle your needs.
3. Compare Fiber Plans and Providers
When comparing fiber providers, keep an eye on these factors:
- Speed: Look for symmetrical speeds (upload equal to download).
- Price: Consider whether the faster plan fits your budget.
- Contract terms: Avoid long-term contracts if possible.
- Customer service: Check user feedback on places like Yelp to see which providers have strong reputations.
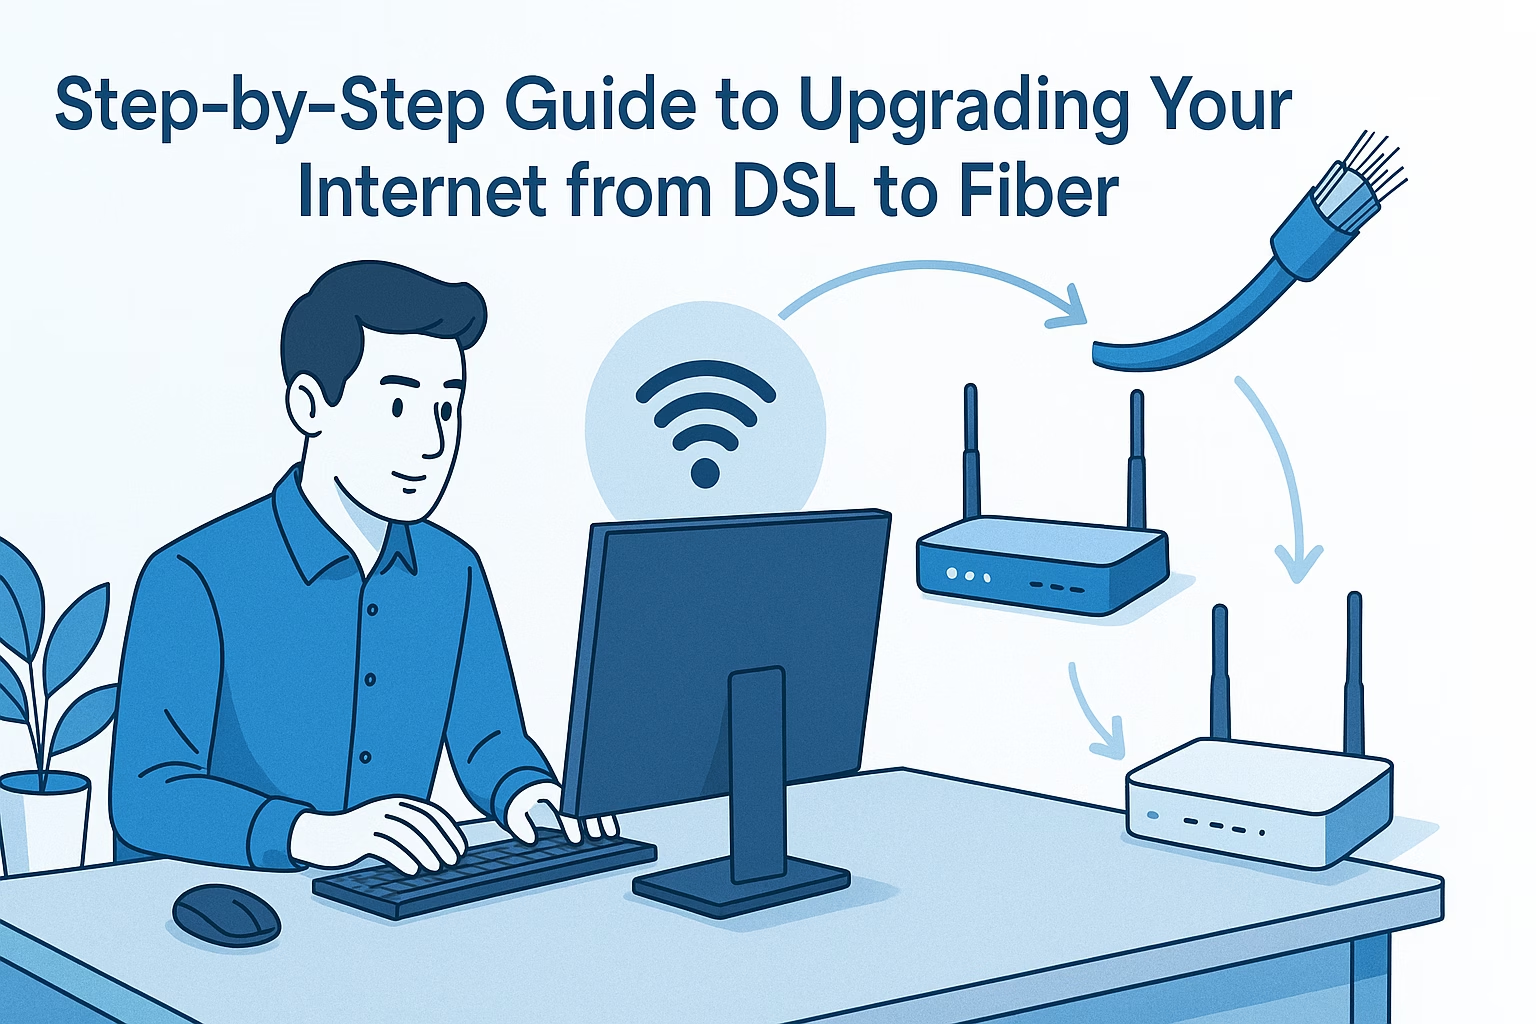
Step-by-Step: How to Upgrade from DSL to Fiber
Step 1: Confirm Service Availability and Schedule Installation
Once you’ve chosen a fiber provider, reach out to schedule an installation appointment. Most companies will check whether your residence needs new cables brought in from the nearest fiber junction box. Depending on your home setup, you may need to provide access to the basement, exterior wall, or utility room.
Step 2: Prepare Your Home for Installation Day
Before the technician arrives:
- Clear access to wall outlets and your main network area.
- Remove old networking gear that won’t be reused.
- Plan where you want your new fiber modem or router installed—ideally near the center of your home.
It’s also wise to verify if your existing devices support higher speeds—especially your Wi-Fi router. According to HowToGeek, older routers provided by ISPs often can’t handle gigabit speeds, so you may want to replace or upgrade to a newer model that supports Wi-Fi 6.
Step 3: Installing the Fiber Equipment
Fiber internet typically requires:
- An Optical Network Terminal (ONT), which converts light signals from the fiber line into data your devices can use.
- A Fiber-compatible Router that distributes your internet connection throughout your home.
The technician will run the fiber line into your home—either underground or along existing utility poles—then connect it to the ONT. Once connected, your new modem/router will be installed and configured.
Step 4: Set Up Your New Wi-Fi Network
After installation, you’ll set up your new Wi-Fi network:
- Choose a network name (SSID) that’s easy to remember.
- Create a strong password with letters, numbers, and symbols.
- Log into the router’s administrative panel to adjust settings like parental controls or guest networks.
Many users post helpful tutorials on this process—check out YouTube for practical visual guides, such as Matt Diggity’s guide to writing the perfect blog post. Though it’s about blogging, the structure is similar: step-by-step clarity helps with any technical setup!
Step 5: Test Your Connection Speed
Once your network is active, test your connection using legitimate online speed testing tools or local resources. You’re checking to ensure your speed matches the plan your provider promised. Note your download and upload results, and test on both wired and wireless devices.
Step 6: Cancel Your DSL Service
After confirming your fiber is working properly, it’s time to disconnect your old DSL service. Call your former provider and return any rented equipment to avoid extra fees. Double-check your final bill to ensure you’re not charged beyond your service end date.
Optimizing Your Fiber Network After Installation
Getting fiber is just the beginning. You can optimize your home network for maximum performance.
Upgrade Your Hardware
Even with fiber speeds, bottlenecks can occur if you’re using older equipment. Consider upgrading:
- Your router to a modern Wi-Fi 6 model
- Ethernet cables to at least Cat6 or Cat7
- Smart devices to those rated for gigabit connectivity
Place Your Router Strategically
Position your router in a central, elevated spot. Avoid putting it behind metal furniture or near microwaves, which can cause interference. If you live in a large home, consider adding Wi-Fi extenders or a mesh network system for superior coverage.
Secure Your Network
- Always enable WPA3 encryption if available.
- Regularly update firmware to patch vulnerabilities.
- Use strong passwords for both your network and router interface.
Watch community discussions on Reddit for tips on optimizing security and performance for different router models.
Troubleshooting Common Fiber Setup Issues
Even the best installations can hit a few snags. Here’s how to handle common issues:
| Problem | Possible Fix |
|---|---|
| No Internet Connection | Check if the ONT has power and optical signal lights. Restart your router. |
| Slow Speeds | Run a wired test; if it’s fine, adjust Wi-Fi placement or upgrade your router. |
| Frequent Disconnects | Inspect cables and connectors for damage. Contact your ISP if it persists. |
Tips for a Smooth Transition
- Backup important data before switching if you rely on cloud systems—just in case of short outages.
- Use a UPS (uninterruptible power supply) to protect routers and ONTs from power surges.
- Test all smart home devices once fiber is active; you might need to reconnect them to the new network name.
Frequently Asked Questions
Will fiber installation damage my property?
Fiber technicians typically use existing utility lines or underground conduits. Minimal external work is required, and disruptions inside your home are kept small and tidy.
Can I keep my old phone number when switching?
Yes, most fiber providers let you keep your landline number through VoIP (Voice over Internet Protocol). Ask during setup if you need this feature.
Is fiber more expensive than DSL?
In many areas, the cost difference has narrowed significantly. While fiber plans can cost slightly more, the performance improvements—especially for remote work and streaming—make it a worthwhile upgrade.
What happens if there’s a power outage?
Fiber equipment requires electricity to power the ONT and router. Consider a battery backup to keep essential connections active during outages.
Making the Most of Your New Fiber Connection
Now that you have blazing-fast fiber, take advantage of it:
- Stream 4K movies or shows seamlessly.
- Host smooth video conferences without lag.
- Play online games with ultra-low latency.
- Upload large files to the cloud in seconds.
- Connect multiple smart home devices effortlessly.
Once you try fiber, you’ll wonder how you managed with DSL. Many users share their success stories on Quora—it’s a great place to see real-world feedback on switching experiences.
Final Thoughts
Upgrading from DSL to fiber isn’t just about faster speeds—it’s about transforming how your home stays connected. With careful preparation, expert installation, and a little network optimization, you’ll be ready to enjoy lightning-fast, dependable internet for work, play, and everything in between.
For a future where streaming, gaming, and smart living coexist effortlessly, fiber internet is the foundation you need. The process may take a bit of coordination, but the reward—a smoother, more responsive online experience—is absolutely worth it.

Written by Sam jaffer
Content writer and tech enthusiast sharing insights on internet connectivity.